How to Prepare Your Design File
Learn how to prepare and optimize your design files for metal cutting at My Metal Shop
File Requirements & File Preparation Guidelines
File format requirements for My Metal Shop
Our software only accepts .DXP or .DWG formats; 10MB maximum file size.
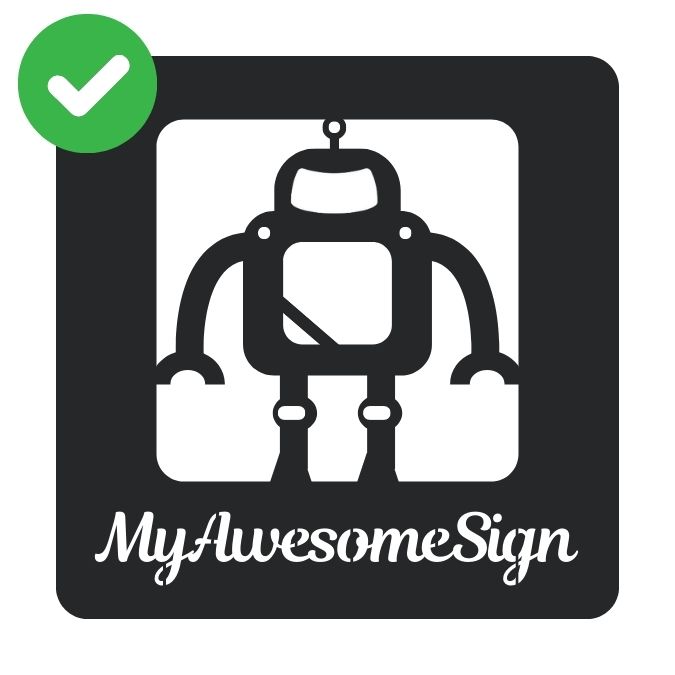
✅ We accept 2D vector files in the following formats: DXF (Preferred) and DWG.
✅ Maximum file size you can upload to the My Metal Shop app is 10MB per file.
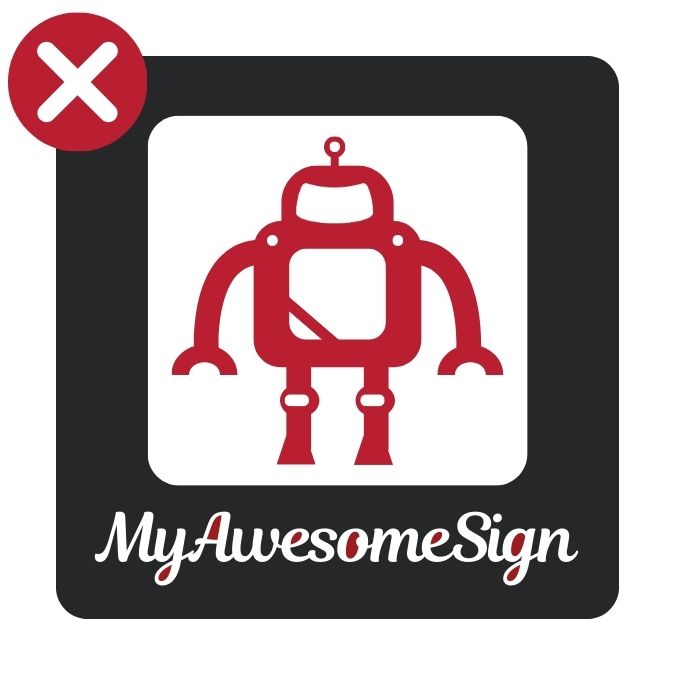
❌ We cannot accept raster-type files (JPEG, TIFF, PNG) or any other file type not listed above.
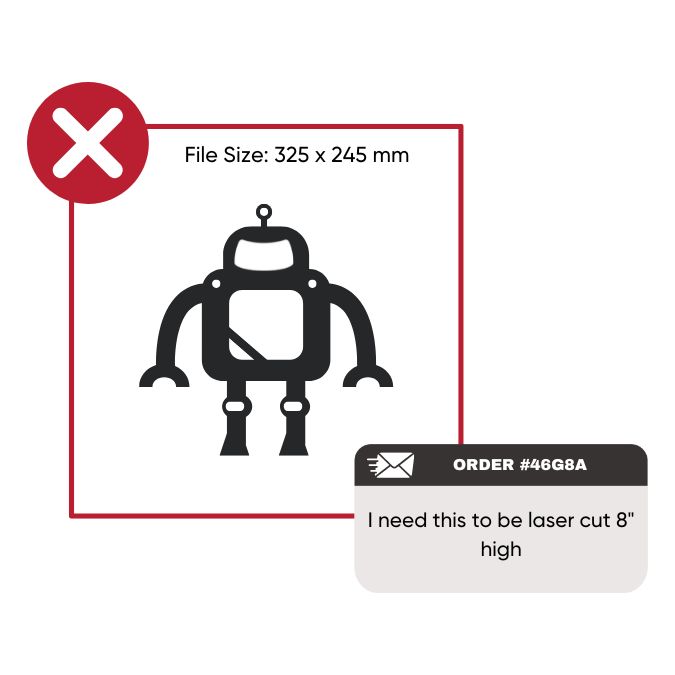
Submit Properly Scaled Artwork
Ensure your artwork is scaled accurately at a 1:1 ratio. Use millimeters (mm) or inch (in) only.
When submitting your design, ensure it is at the exact size you need, using a 1:1 scale. Our system processes your file as-is, so any dimensions written within the design will not be used.
We require all files to be in inches (in) or millimeters (mm) for precision. Designs in other metric units, such as centimeters or meters, will not be accepted.
If your design originated as a raster image and was later converted, verify the dimensions are accurate before submitting. Printing the file at its actual size can help you confirm everything is scaled correctly.
Only Include Your Parts or Cut Paths
Your file should include only the necessary parts or cutting paths.
To ensure a smooth and efficient process, make sure your file only contains the parts and/or cut paths that need to be laser cut. Remove any extra elements such as dimensions, notes, borders, or unused objects before submitting your design.
If you have additional details like quantities or specific instructions, include them in your order notes rather than the design file itself. This helps us focus on your project and speeds up the process. If we have any questions, we’ll be sure to reach out to clarify.

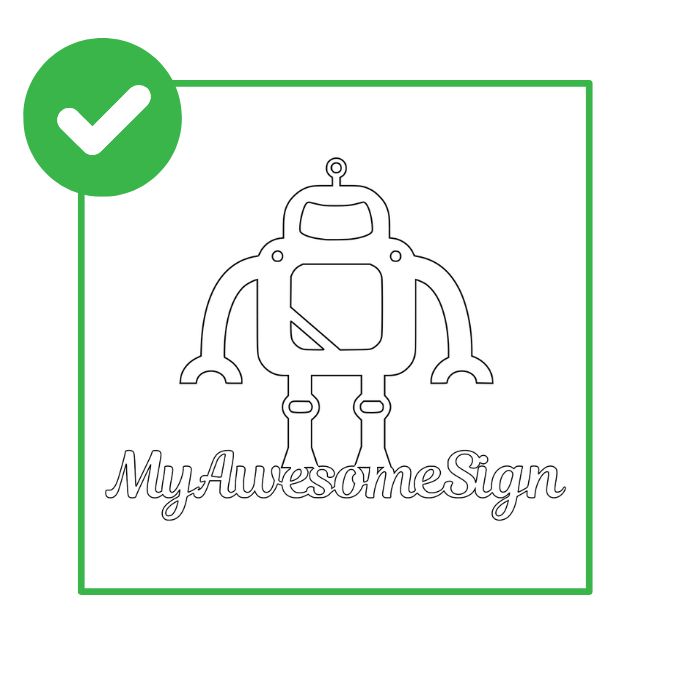
Turn Text into Outlines or Shapes
Convert any text in your design to outlines or shapes.
If your design includes editable text, it needs to be converted into outlines or shapes before submitting. Active text boxes can't be processed by our laser cutters, so this step is essential to ensure a successful cut.
Not sure if your text is ready? Hover your cursor over the text—if it's still editable, it needs to be converted. Most design programs make this simple: In LightBurn, convert the font to path by selecting the text, then go to: Edit → ”Convert to Path”; in Illustrator, use the “Convert to Outlines” option; or in some CAD programs, look for terms like “Expand” or “Explode.”

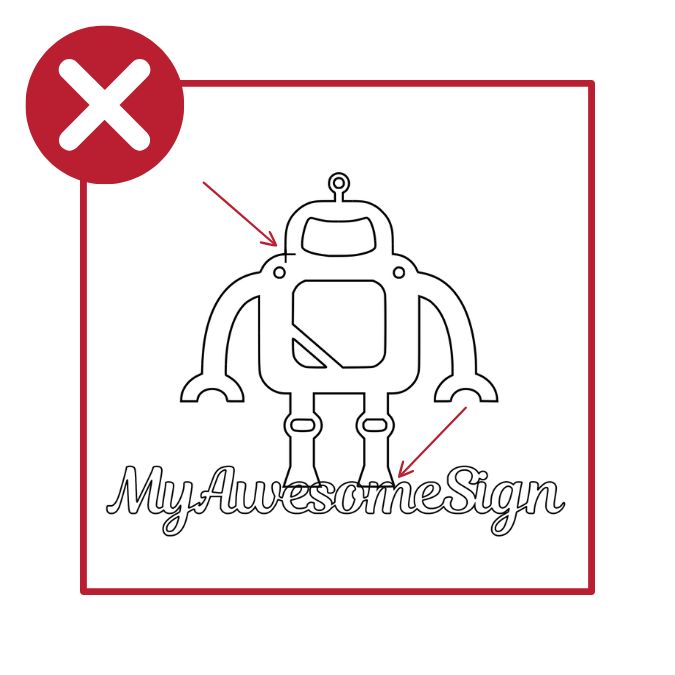
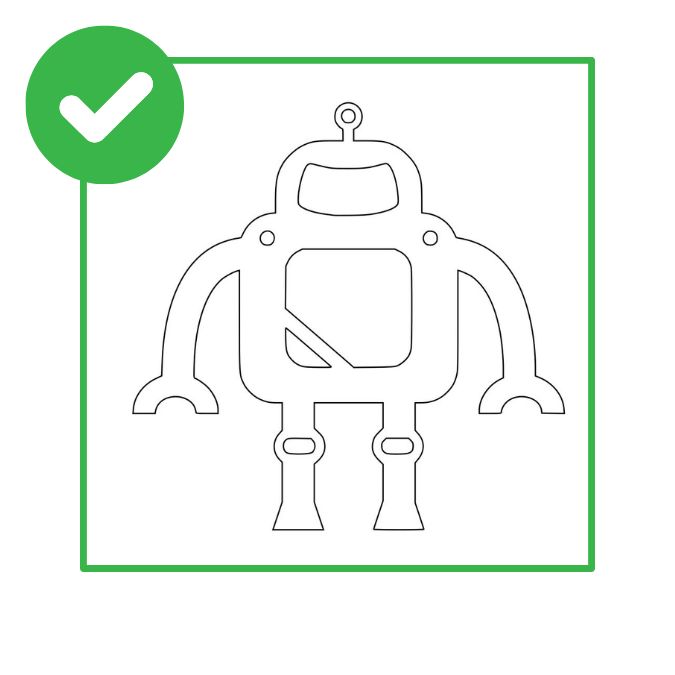
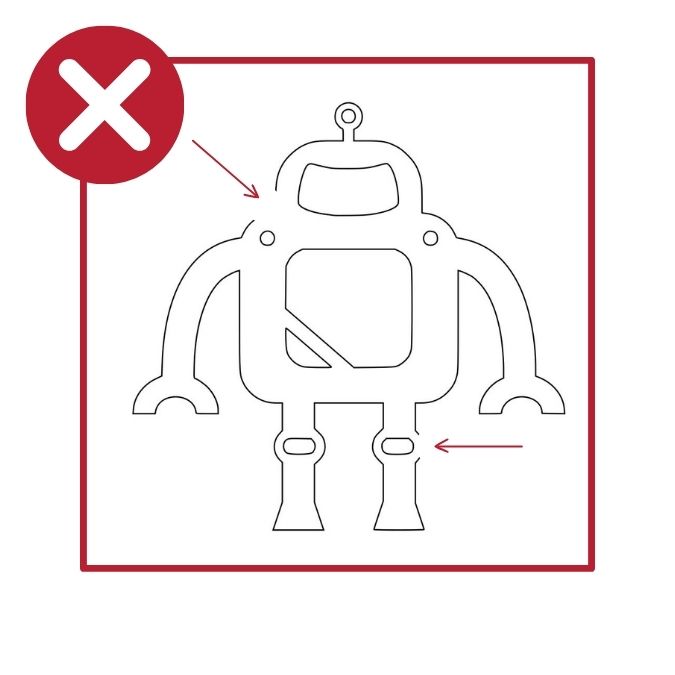
Use “bridges” to keep text and shapes connected
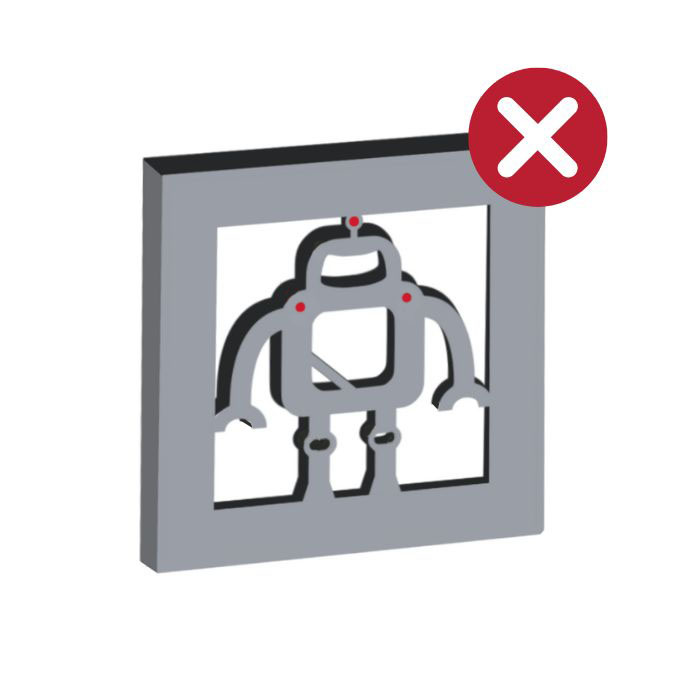
For designs with text or intricate shapes, use “bridges” to connect pieces or stencilize the design.
In designs where inner parts aren't attached to the outer structure, such as the red areas shown in the example below, pieces can fall out during cutting. This can complicate both the cutting process and assembly, particularly for intricate lettering or detailed shapes. To resolve this, incorporate small connectors, often called “bridges,” to link those inner elements to the surrounding design. By planning your artwork as if it were a stencil, you can minimize loose pieces and make the final result both functional and easy to install.
Important: The minimum bridging requirement is 1mm (3/64”).
Ensure all interior features in your design maintain adequate dimensions
The smallest allowable interior feature size varies based on material type and thickness. As a general rule, no element should be less than 0.015", but always verify your specific design against the appropriate Minimums and Maximums reference charts for your selected material.
For laser cutting applications, all openings and cuts should measure at least 50% of your material's thickness. Since the laser must create new pierce points each time it begins cutting in a different area, sufficient material thickness is required to accommodate the laser beam's diameter.
Ensure holes, cutouts, or internal shapes are at least half the thickness of the material
Make sure all holes and cutouts are at least 50% of your material's thickness.
When designing, remember that features smaller than 50% of the material's thickness may not cut cleanly or precisely. This is due to the laser needing adequate space to “pierce” and start cutting, which can make overly small details difficult to execute accurately.
To avoid issues, check the minimum size guidelines specific to your material. Each material and thickness has its own cutting limitations, and you can reference these specifications on our material information pages.
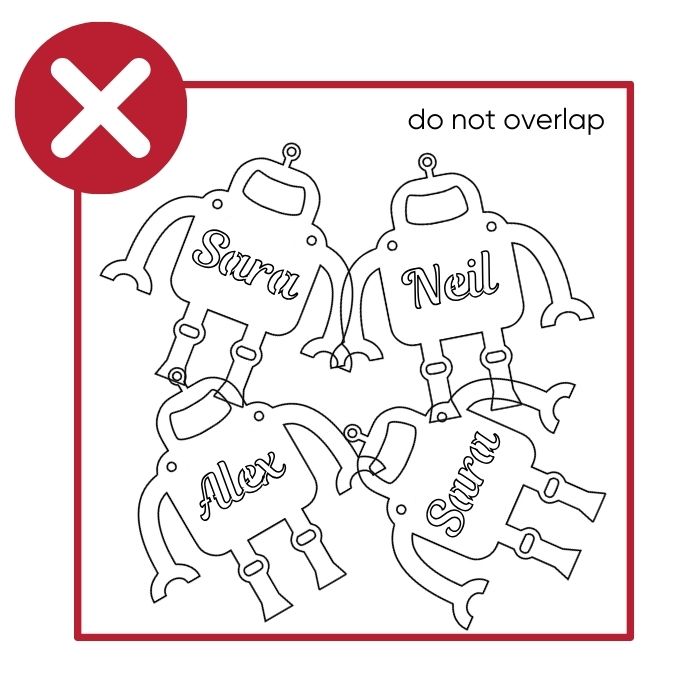
Keep designs free of overlapping or common lines
Double-check that no lines overlap, intersect, or share paths.
Double-check that no two parts in your design touch, share a common edge, or overlap. Any intersecting or duplicate lines can confuse the laser, causing errors or incomplete cuts.
For a quick way to identify these issues, switch your design view to wireframe or outline mode in your software. This will help you easily spot and fix any problematic areas before submitting your file.
Remove empty objects and ensure all shapes are fully closed
Eliminate empty objects and ensure all shapes are fully closed, with no open contours.
An "open contour" simply means that a shape isn't fully connected. Since the laser follows the path of a shape, any gaps will cause it to stop cutting prematurely.
To catch and fix open paths, switch to Outline or Wireframe mode in your design software. This view makes it easy to spot incomplete shapes or stray objects that need attention.
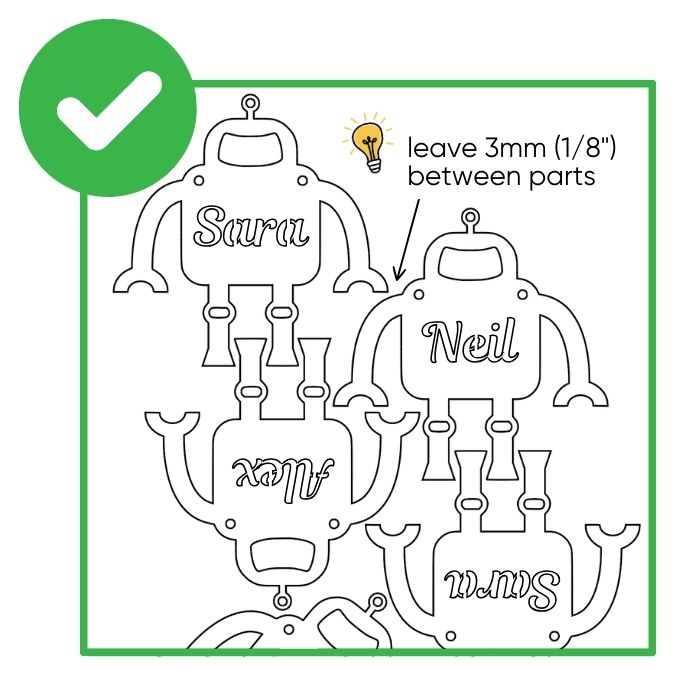
How to include or nest multiple designs in one file
We recommend placing only non-identical parts together in one file, such as custom ornaments with different names, or a range of distinct components. If you do this, please leave at least 3mm (1/8 in) of space between each part.
If you want to order multiple copies of the same part, upload that part's design once and specify the desired quantity at checkout. We also offer volume discounts on orders of identical parts.